# Getting started
# Quick start
Assuming you have some images (.jpg, .png) and a supported audio file (.mp3, .m4a, .wav, .aiff, .ogg, .aac), here are the basic steps of producing a slide show in Soundslides 3.
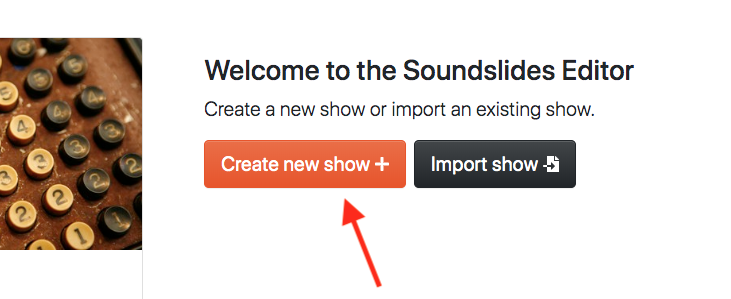
# 1. Create a new show
From your account's show list, click Create new show +.
# 2. Import your images and audio
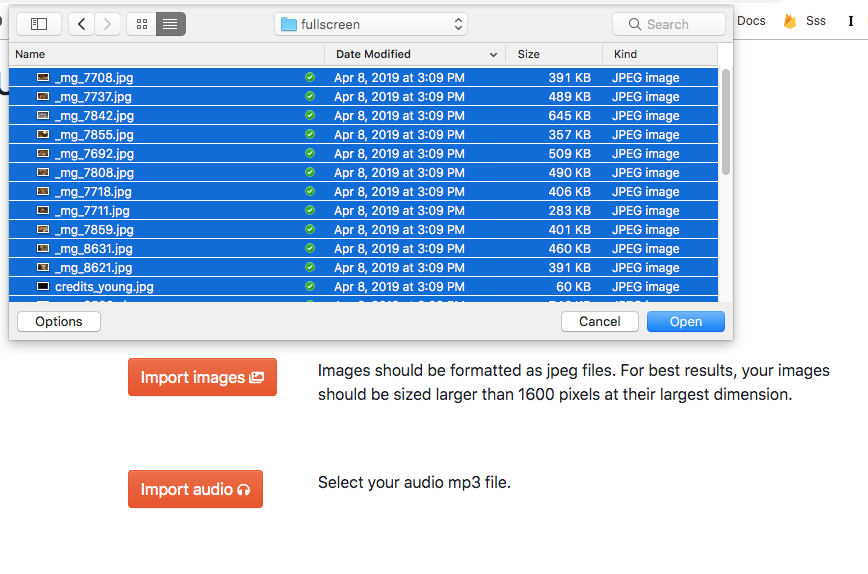
Click Image images to select your image files.
Click "Import audio" to select your audio file (or use one of the tracks from our Music Library)
# 3. Edit your show using one of two timing methods
By default, your show opens with auto-spaced timings. You can adjust the "secs per image" by using the slider in the upper right of your edit area.
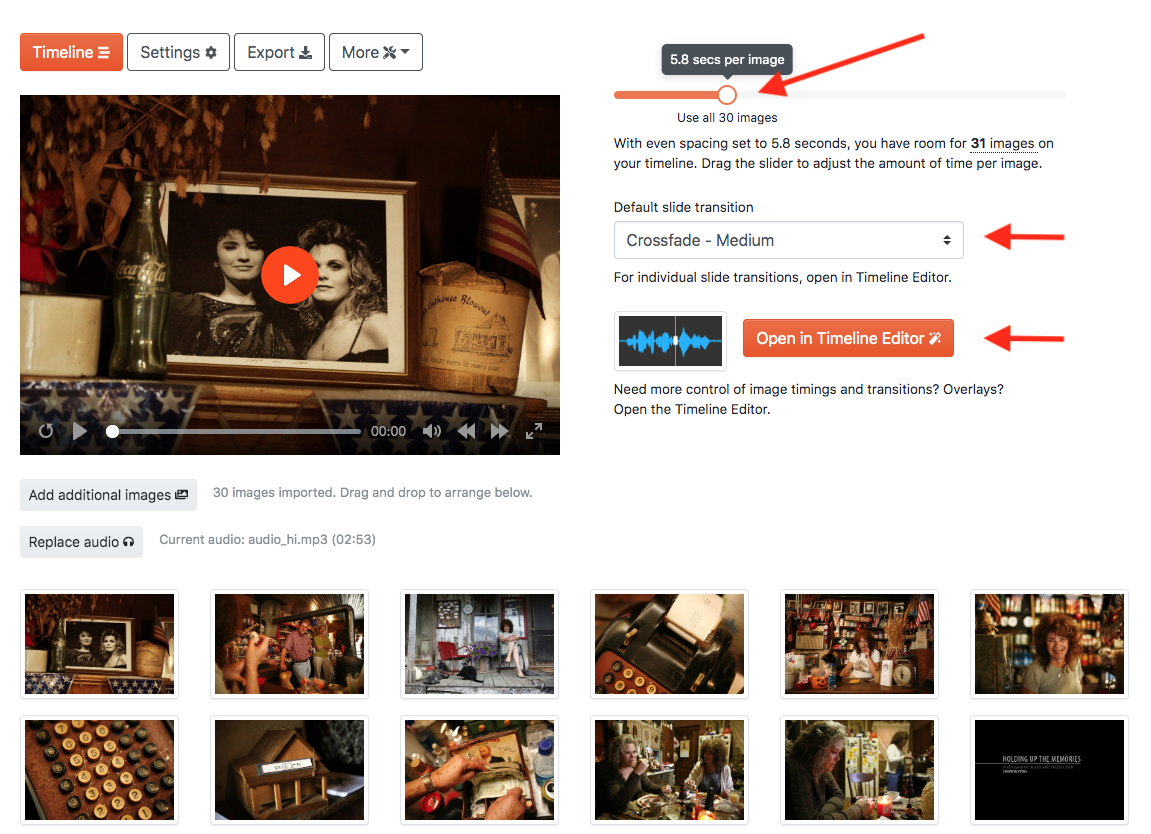
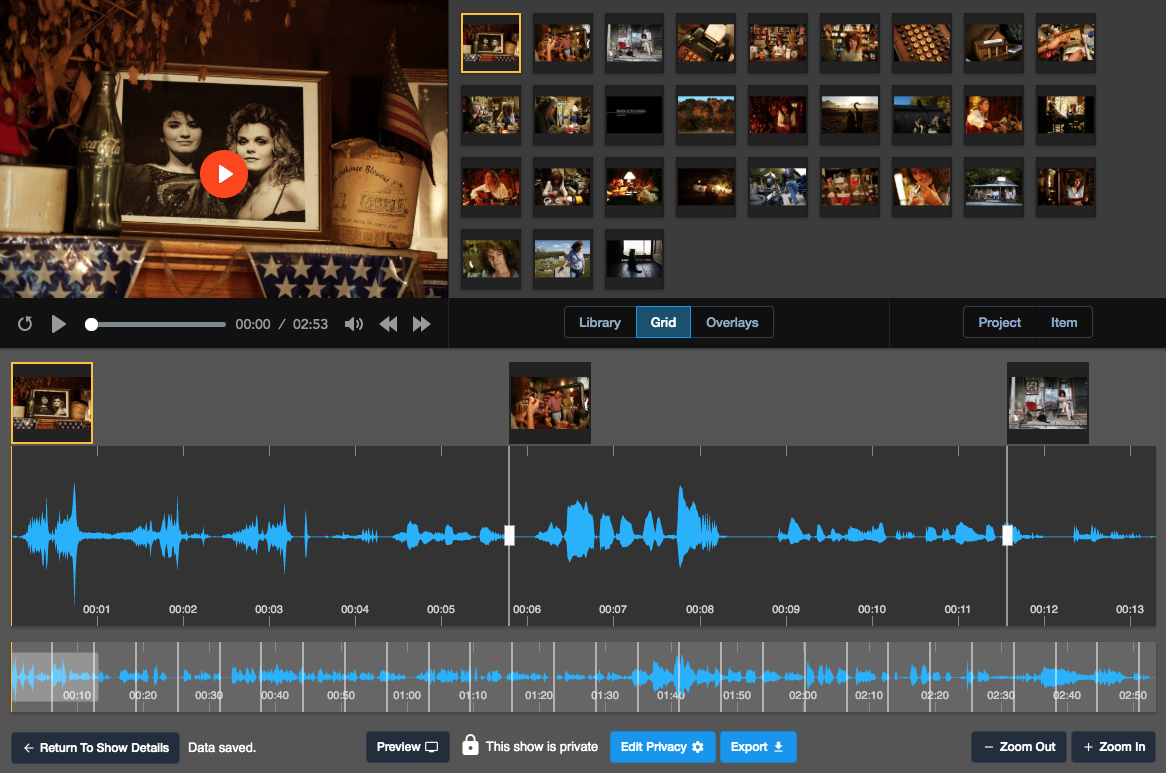
To switch to precise timing's timeline interface, click "Open in Timeline Editor". If you've used Soundslides in the past, you will be familiar with the Timeline Editor.
TIP
For more information on the two timing methods, see the main editing documentation.
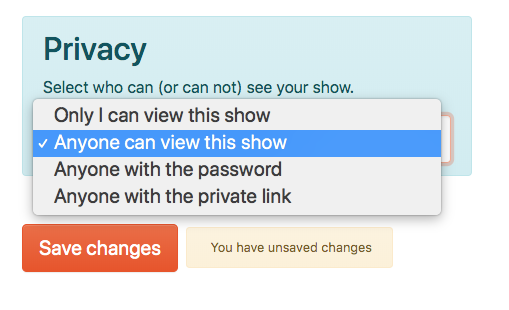
# 4. Change your privacy settings
After editing, change your privacy settings by clicking the Edit button adjacent to "This show is private".
Select "Anyone can view this show" from the dropdown menu.
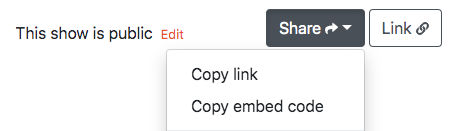
# 5. Copy your link and share!
Your show is not viewable to the public online. Click the "Share" button and select "Copy link" to copy the show's URL to your clipboard.
# Next steps
Explore the editing options in the Timeline Editor, and Overlay pane.
Shows →