# Editing your show
# Basic editing
Soundslides offers two different ways to time images in your slide show, depending on the needs of your particular presentation.
- Auto-spaced timing
- Precise timing
What's the difference in the two timing methods?
Use auto-spaced timing when you want every image in the show to have the same amount of time on the screen.
Use precise timing when you want to control exactly where an image appears in time. If you've used previous versions of Soundslides, then you've always used precise timing.
# Auto-spaced timing
To use auto-spaced timing, adjust the secs per image slider on the right side of the edit window.
As you adjust the time, the application will update the slide show preview, and tell you how many images will fit on your timeline.
Use case for auto-spaced timing
Jon has a piece of music he knows his client will love, but he's not sure how many of his 60 images he want's to use, or how long each image should appear. With auto-spacing, he can adjust the time-per-image slider and get a sense of what speed works best for his show. Then he puts his images in order and he's done. Auto-spacing does all the calculations for him, and helps him know how best to edit down his images.
# Adjusting transition type with auto-spaced timing
You can choose a transition preset at this time as well. Choose between:
- Crossfade - Fast, Medium and Slow
- Straight-cut (no transition)
- Fade out/Fade in - Fast, Medium and Slow
If you need more control over transition types or need to control transitions for individual slides, open your show in the Timeline Editor. See additional information below.
# Timeline Editor
The Timeline Editor is the main interface for precise-timed slide shows. If you've previous Soundslides versions, the Timeline Editor should look familiar.

To launch your show in the Timeline Editor:
- Click the "Edit" button for your show on the show list page.
- Click "Open in Timeline Editor".
Your slide show will then open in the Timeline Editor. To exit out of the editor, click "Return to Show Details" in the lower left.
# Precise timing
While the Timeline Editor initially spaces your images out evenly, you can easily modify where your image appears on the timeline.
Use case for precise timing
Jen has recorded an interview with a well-known artist, and has photographs of the artist's works. Jen wants each of the images to appear at precisely the moment they're being discussed in the audio track. With precise timing, Jen uses the Timeline Editor to arrange the images, then carefully positions the images' in points to appear at the correct moment in her audio track.
# Grid
Use the Timeline Editor's grid pane to swap images in the timeline. Swapping an image replaces one image with another.
To move and image, click and drag on the image and position it over another image.
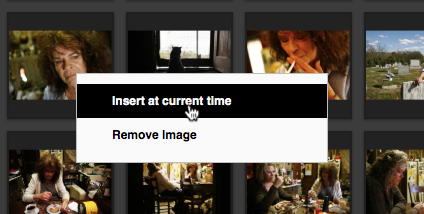
From the grid, you can also access additional image actions via right-clicking on the image.
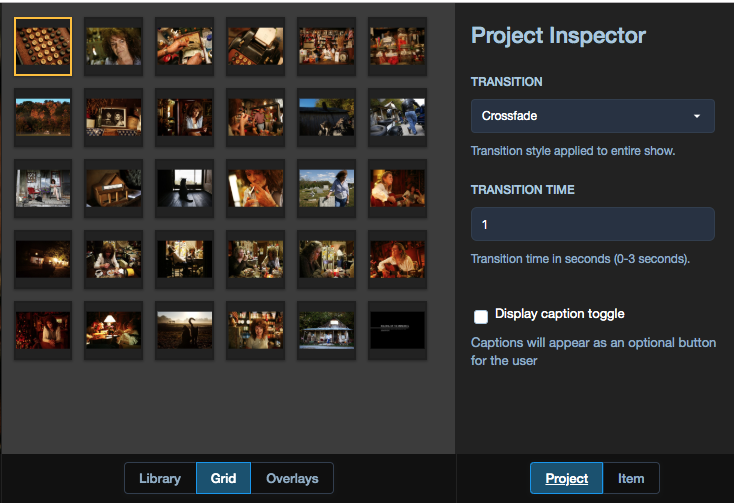
# Project Inspector
The project inspector is available via the right side of the main control bar in the Timeline Editor.
From this dialog box, you can set your show's transition type and speed. These settings are applied to the entire show.
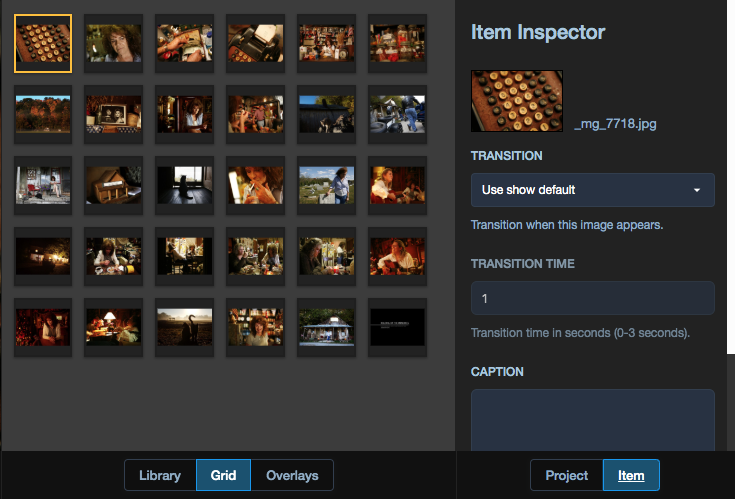
# Item Inspector
The item inspector is available via the right side of the main control bar in the Timeline Editor.
From this dialog box, you can set each image's transition type and speed. These settings only apply to the image being inspected. You can also set the image to use the show's project-level settings.
# Library
The Timeline Editor's Libary pane is where you can view images that have been imported into your show, but are not currently on your show's timeline. You can right-click (or control-click) on Libary images for additional options.
You can also import new images from the Library pane.